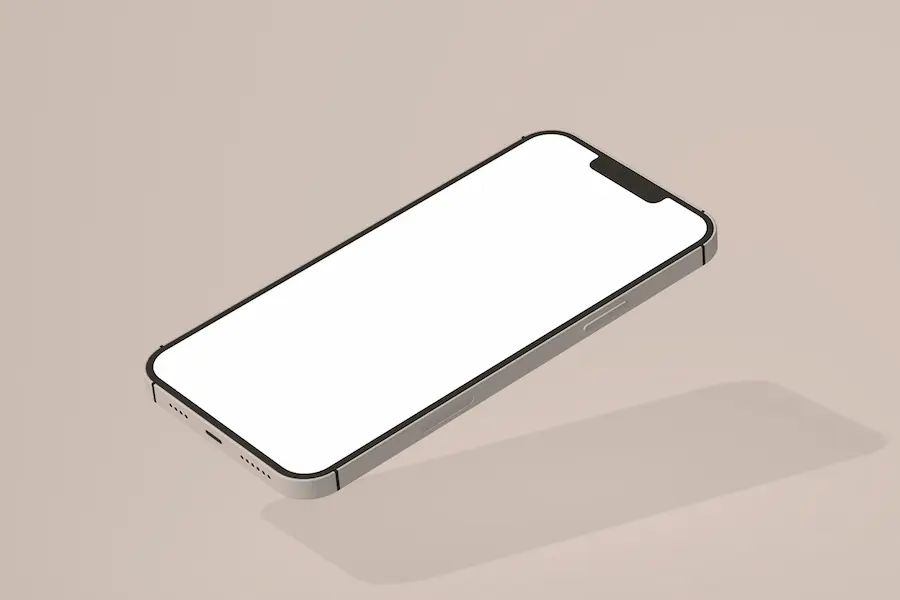
Choosing the right render resolution is essential for creating clean, realistic visuals in digital media. Whether you’re designing product mockups or 3D architectural renderings, the resolution you pick affects how sharp the final image looks and how long it takes to produce. This article walks through what render resolution means, how it impacts quality, and how to pick the right one for your 3D rendering project.
What is render resolution?
Render resolution is the number of pixels in an image and plays a central role in how sharp, smooth, and detailed the final output appears across various digital and printed formats. It affects how detailed and clear the final image appears. A higher resolution means more pixels are packed into the image, which creates sharper visuals and smoother edges. A lower resolution uses fewer pixels, which can result in blurry or jagged images, especially when scaled up or viewed closely.
Render resolution is usually expressed in width by height format, like 1920 by 1080. This pixel count sets the base level of image clarity. It directly influences how textures, lighting, and geometry are presented in a final 3D rendering. While resolution alone does not determine visual quality, it plays a big role in how realistic or polished an image appears.
This setting is one of the first choices artists make in the rendering process. It also affects the time it takes to render an image and the size of the output file. For any project that depends on visual precision, understanding resolution is a necessary step in getting the right result.
Low vs. high resolution
The difference between low and high render resolution comes down to pixel count, image clarity, and resource usage. High-resolution images have more pixels and offer more detail. Low-resolution images are quicker to produce but often look softer or grainy. Choosing the right one depends on how the image will be used and the demands of the project.
Characteristics of low render resolution
Low render resolution works well for drafts and quick previews. It reduces rendering time and file size, which is helpful when working with early concepts or when hardware resources are limited. That said, visual quality suffers.
-
Lower pixel count leads to less clarity, which can make lines and edges appear soft or undefined, especially when zoomed in or printed.
-
Fine textures and shadows are often missing, reducing the depth and realism of the rendered scene, especially in complex materials or lighting setups.
-
Best for rough drafts, not for client-facing materials, as the lack of visual polish may create the wrong impression or obscure important design details.
Characteristics of high render resolution
High render resolution creates more detailed images. This is important for professional projects that require clean textures and accurate lighting. The cost is higher processing time and more memory use.
-
Higher pixel count improves sharpness and realism, allowing textures and materials to appear more lifelike and maintaining detail when the image is printed or displayed on large screens.
-
Ideal for final images, print, and large displays where every detail matters and where viewers may closely inspect the render quality.
-
Enhances color gradients and material surfaces, reducing banding and aliasing, and improving the perception of depth, lighting, and texture consistency.
When to use each resolution
Use low resolution when you need speed and flexibility. Use high resolution when the image must look polished and precise.
-
2K is usually enough for drafts, concept reviews, and internal feedback sessions where clarity is secondary to overall structure and design intent.
-
Final renders often need 5000 by 4000 pixels or more, especially for marketing visuals or print applications where fine details must remain intact at large scale.
-
Match the resolution to your output format and audience, considering both the display environment and how closely the image will be viewed to avoid over-rendering or underdelivering on quality.
What is DPI?
DPI stands for dots per inch. It measures how many dots of ink a printer puts on paper within one inch. It is different from render resolution, which counts pixels. Still, the two work together when preparing an image for print. DPI affects how large or small an image will appear once printed, even if the pixel count stays the same.
A higher DPI value means a denser and sharper printed image. For example:
- 72 DPI is standard for web images
- 150 DPI is a low threshold for small prints
- 300 DPI is the minimum for high-quality prints
If an image is 3000 by 2400 pixels and you print it at 300 DPI, the result will be a 10 by 8 inch print. The same file printed at 150 DPI will be 20 by 16 inches but will appear less sharp.
Matching DPI with image resolution ensures that prints look the way they should. If the DPI is too low, even a high-resolution render can appear blurry or pixelated on paper.
DPI is also relevant when converting digital images for different media. For instance, an image optimized for a web display at 72 DPI will look pixelated if printed without adjusting its resolution. When exporting images from rendering software, you can usually specify DPI settings to prepare them for either digital use or print. This step helps avoid problems later when scaling or transferring files between formats.
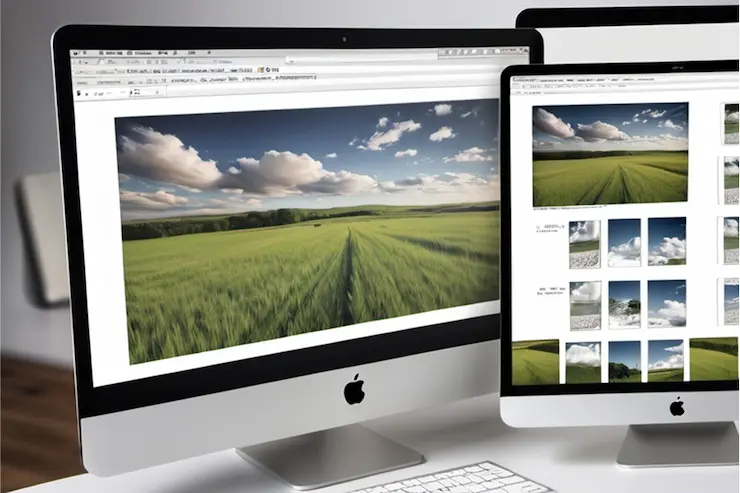
Image resolution for web and print
When preparing images for different uses, it is important to understand the difference between image resolution and the systems displaying or printing those images. Web displays and print outputs follow separate rules. This section explains how render resolution, DPI, and output medium come together.
Screen resolution and display clarity
Screen resolution refers to how many pixels are visible on a display. For example, a 1920 by 1080 screen fits a full HD image without any scaling. These measurements are fixed by the monitor and operating system, and images must match this for full-screen display without distortion. If the image resolution exceeds the screen resolution, the system may downsample the image or require scrolling or zooming to view it fully.
For digital platforms, the standard resolution is 72 DPI. This level is sufficient for screens, where the viewing distance and display density make higher resolutions unnecessary. However, using high render resolution for screen visuals can improve clarity on high-DPI monitors, such as Retina or 4K displays.
Print resolution and physical output
Print resolution depends on DPI and image size. When preparing for print, both the pixel dimensions and the DPI setting determine the final physical size and quality. An image with high pixel count but low DPI may appear large but look blurry when printed. In contrast, a high DPI with sufficient pixels ensures the image is sharp and correctly scaled.
To print high-quality images without pixelation, you need the right combination of pixel count and DPI. For example, an image meant for an A4 sheet at 300 DPI needs to be at least 3507 by 2480 pixels. This allows for accurate reproduction of colors, gradients, and edges, making it ideal for brochures or magazines.
Examples for print quality
- At 150 DPI, prints are acceptable for large posters viewed from a distance
- At 300 DPI, prints are sharp enough for brochures or magazines
- At 600 DPI, prints are suitable for fine-detail applications like art reproductions
| Print Size |
DPI |
Resolution (px) |
| A4 |
150 |
1753x1240 |
| A4 |
300 |
3507x2480 |
| A4 |
600 |
14031x9921 |
| A3 |
150 |
2480x1753 |
| A3 |
300 |
4960x3507 |
| A3 |
600 |
9921x7015 |
| A2 |
150 |
3507x2480 |
| A2 |
300 |
7015x4960 |
| A2 |
600 |
14031x9921 |
Practical use cases
Marketing materials, packaging, and retail signage require different levels of resolution. A flyer may need 300 DPI for legibility and color accuracy, while a billboard viewed from across a street can be designed at 150 DPI without a visible loss in quality. Knowing how to scale image size to fit the medium without inflating file size is essential for workflow efficiency.
Web banners, thumbnails, and mobile images must also be optimized. Oversized files slow loading times and may not display as intended. Correct use of screen resolution and DPI ensures your visuals remain crisp without unnecessary overhead.
Understanding this relationship is key to producing sharp, correctly scaled prints and digital graphics without overloading your rendering system or storage.
What render resolution should you use for a 3D rendering project?
Choosing a render resolution for a 3D project depends on the output format, level of detail required, and hardware constraints. For quick reviews, a smaller resolution is fine. For final images used in marketing or printed displays, high-resolution output is essential.
Consider these points:
- For web: 1920 by 1080 pixels is usually enough
- For print: Use 300 DPI with a pixel count that matches the paper size
- For presentations or ads: 4000 pixels or more on the longer side
If you are creating a 3D product configurator, plan for high-quality output at multiple sizes. High-resolution renders give more flexibility for cropping, scaling, or reusing assets across media.
Conclusion
Understanding render resolution is essential for anyone working with 3D rendering or digital media. It is a key factor in controlling how polished, sharp, and usable a final render will be across various platforms. The resolution you choose directly influences clarity, the size of your output files, and how much computing power is needed to complete a render.
Getting this setting right means your visuals will look crisp and professional whether viewed on a mobile screen, a large display, or in print. It also helps avoid delays and costly mistakes in post-processing. Higher resolutions bring out finer details, textures, and lighting effects that can elevate the overall impact of your work. However, they also require more time to process and may push your hardware to its limits.
For guidance with your rendering needs for 3D product rendering reach out to us, and see how we can support your next project with clear visuals and reliable rendering services.